Step-by-Step Guide for a 360-Degree Tour

How to Create a 360-Degree Tour?
1. Prepare the Property
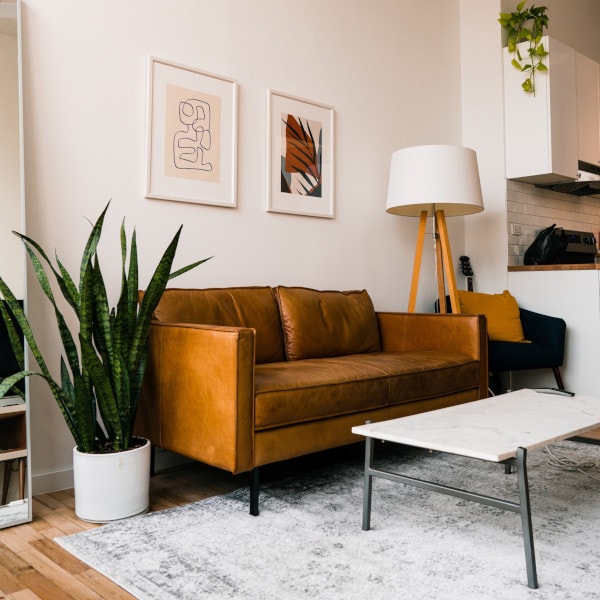
With a 360-degree tour, you present the property on the market as if it were a live viewing. To prepare for the creation of the 360-degree photos, it is advisable to prepare the property accordingly. Open all the doors, switch on all the lights, draw all the curtains, remove any objects that make the picture look cluttered or untidy and place a few fresh flowers. If the apartment is empty, you can consider using home staging to appeal to a larger group of buyers or tenants. As a general rule, the pictures should not show too many personal items. If the apartment is still occupied, it is advisable to check in advance which items in each room have a positive effect and, if necessary, to temporarily place the remaining items, especially personal items, in the next room.
2. Create 360-Degree Photos
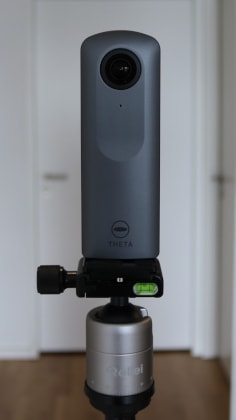
Now that the property has been prepared, the 360-degree photos can be taken. We recommend using a 360-degree camera on a stable tripod. A high-resolution camera including a tripod is available from around €300.00. This will give you the best results. The special feature of the camera is that it has two lenses and creates a wide-angle 360-degree image from these two 180-degree photos. You can also use an app on your smartphone to trigger the photos from the next room so that you are not visible in the photo. Alternatively, these cameras usually also have a self-timer. Mount the camera approximately at head height on your tripod, as this gives the most natural view of the property. The order in which you take the photos plays a subordinate role, as you can later move all the images around on the computer and assign them to the individual rooms. For smaller to normal-sized rooms, we recommend taking a photo from the center of the room. For large or angled rooms, we recommend taking two or more photos with sufficient distance between them.
3. Create a Floor Plan
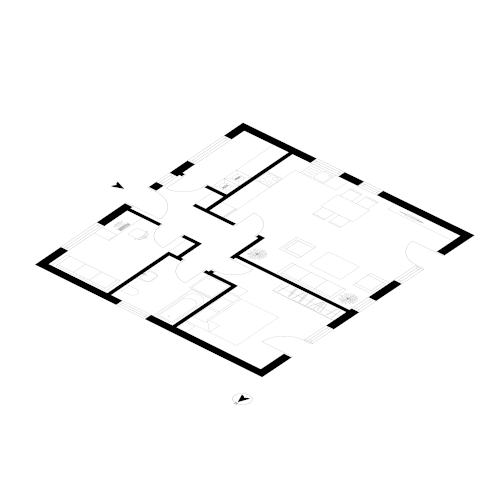
We recommend including a floor plan as the basis for every 360-degree tour. This increases the clarity of the tour for your customers, making it even easier to find their way around the property. The floor plan makes it possible to jump between rooms that are further away without having to “walk” virtually through the entire property. Optionally, you can use our service for this. We create a sales-optimized floor plan based on your template, which you can integrate perfectly into your 360-degree tour. You can book this service directly from your customer account and integrate the optimized floor plan after 24 hours.
4. Create the 360-Degree Tour
Once all the photos, the floor plan and the property data are available, the next step is to create the 360-degree tour. To do this, log into your customer account on our homepage. You can start creating the 360-degree tour under the “Forge 360-degree floor plan” tab. Our software will guide you step by step through the entire process. Conveniently upload the 360-degree photos and the floor plan from your PC.
5. Start Your Virtual Marketing
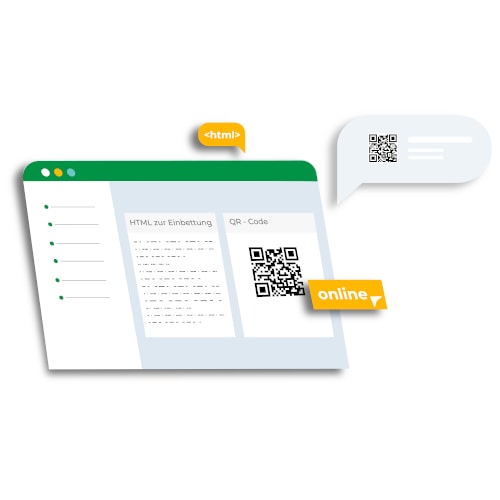
At the end of the creation of your 360-degree tour, you will receive a link that you can embed in your online advertisement or homepage or send directly to your customers by e-mail. Our system also generates a QR code, which you can even insert into your printed brochure or shop window. We wish you every success in creating your 360-degree tours and marketing your property!